
Introduction
To integrate Trackier data with the 24Metrics AdSecurity Platform, follow the steps in the Setup Wizard or watch the video tutorial at the end of this article.
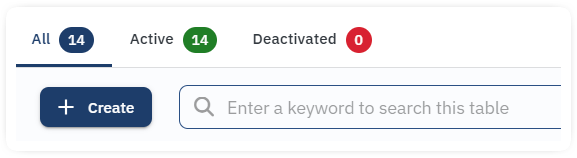
1. Create a New Integration
- Navigate to the Integrations section and click +Create.
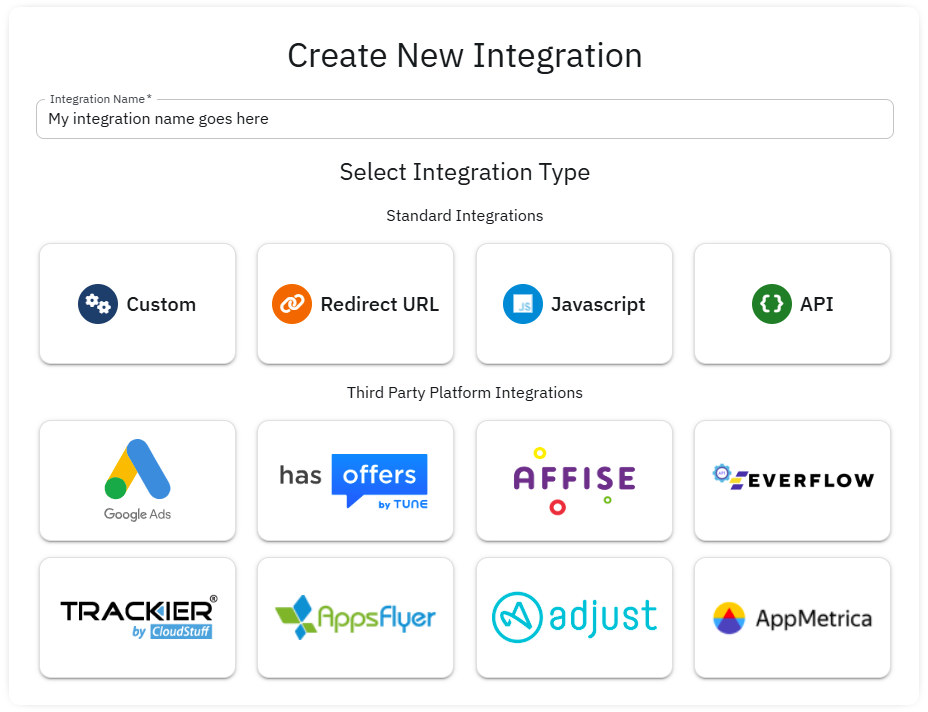
2. Select the Integration Type
- Enter a name for your integration (you can update it later).
- Select the Trackier icon.
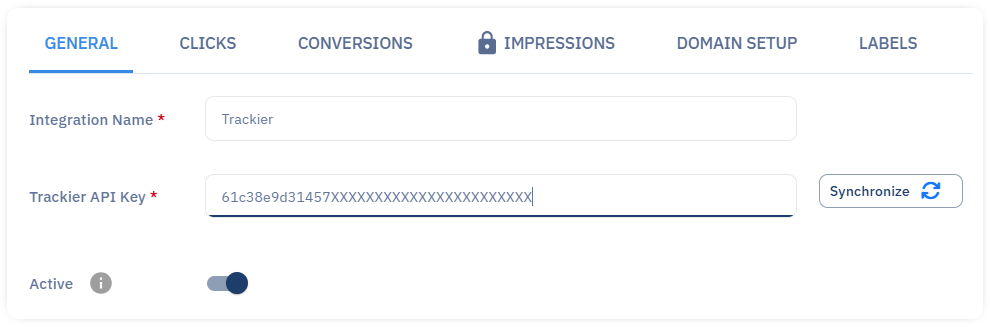
3. Enter the Trackier API Key
- Input your Trackier API key.
- Click Synchronize and then Save to proceed to the next steps.
4. Configure Click Tracking in the Clicks Tab
Note that this option is not requested unless click screening is implemented. For screening only the conversions, skip to step 5, otherwise, follow the next steps:
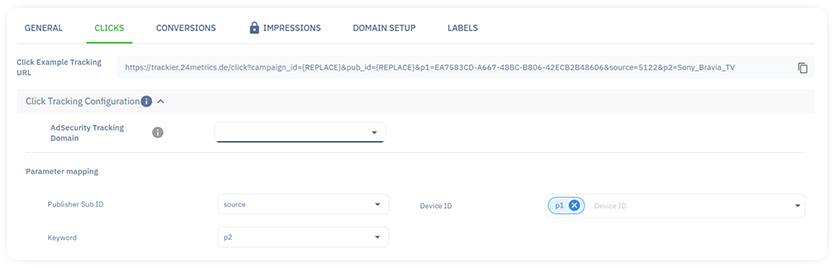
- Tracking Domain: select the trackig domain from the dropdown menu
- Parameters: select the parameter mapping to match Trackier data
- Approved Clicks management: select a domain from the dopdown menu. The domain must be different from the click domain.
- Refer to Tackier supoport for help with setting up a second domain into the platform.
- Configure handling for rejected clicks:
- Block rejeted clicks
- Enter a Custom Fallback URL.
- Use the Offer Preview URL defined by Trackier.
5. Configure Conversion Tracking in the Conversion Tab
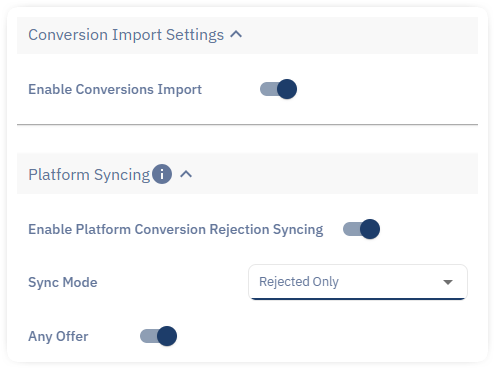
- Enable Conversions Import to track conversions within the 24Metrics AdSecurity Platform.
- Map your parameters to the platform’s parameters to align Conversion Import Data.
6. Connect Your Domain (only for click screening)
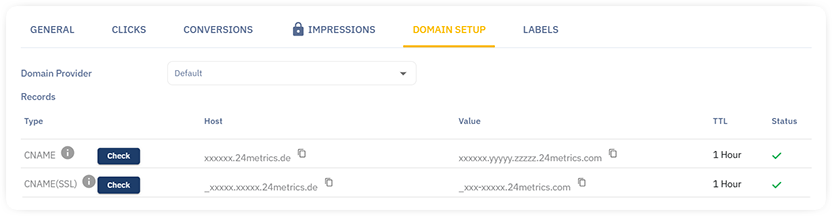
- Save the CNAMEs (Host and Value) from the Domain Setup Tab.
- Go to your domain hosting provider and login to the domain Control Pannel
- Go to Domain settings and add the 24Metrics CNAMEs to your domain DNS Records.
The servers might take at least 15 minutes to update so broken links or 404 error are normal. Please contact your hosting support for help with setting up the DNS Records.
By following these steps, you can seamlessly integrate Trackier data with the 24Metrics AdSecurity Platform.